Welcome to Rongda Machinery Co., Ltd


CALL TO SCHEDULE YOUR FREE!
+8615861110996
sharon@lyrdgj.com
sharon@lyrdgj.com
Toggle Navigation
Ever thought about making your own wood pellets? It’s a hands-on project that’s not only satisfying but can save you some cash and let you tweak things to your liking. Plus, it’s a win for the planet. Wood pellets burn cleaner than firewood, are a breeze to store, and work like a charm in pellet stoves or fireplaces. I’ve been tinkering with this for a while, and trust me, it’s worth the effort. Let’s walk through how to make your own pellets, step by step, with a few tips I’ve picked up along the way.
Before we get our hands dirty, let’s talk about why this is such a great idea.
Store-bought pellets can hit your wallet hard, especially if you’re heating your home all winter. By making your own, you’re cutting costs big time. Got extra pellets? You might even sell them to neighbors for a bit of side cash.
One of the best parts? You get to call the shots. Want denser pellets for a hotter burn? Prefer pine over oak for that distinct aroma? You can customize everything—wood type, pellet size, you name it. It’s like tailoring your coffee order, but for heating.
Making pellets at home is a green choice. You’re cutting down on the carbon footprint tied to factory-made pellets, which involve shipping and heavy machinery. Plus, you can use scrap wood or sawdust that might’ve ended up in a landfill. It’s recycling at its finest.
There’s something empowering about producing your own heat source. No more relying on suppliers or worrying about price spikes. It’s a skill that makes you feel like you’ve got winter under control.
Here’s the rundown on what you’ll need to whip up your own pellets. Don’t worry—it’s not as daunting as it sounds.
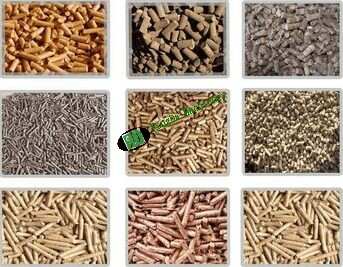
Wood: Hardwoods like oak or maple give you sturdy pellets, while softwoods like pine or cedar burn faster. Just steer clear of treated or painted wood—burning that can release nasty chemicals.
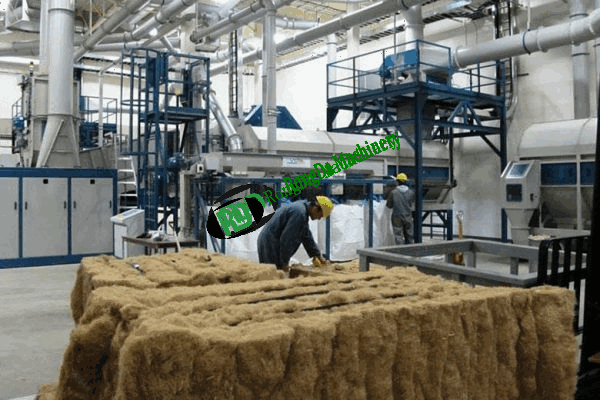
Sawdust or Shavings: If you’ve got a pile of sawdust from a project, you’re golden. Otherwise, you’ll need to grind down wood into fine bits.
Binding Agent (Optional): A touch of starch can help your pellets stick together, but I’ve found it’s not always necessary if your wood’s dry enough.
Pellet Mill: This is your main player. It squashes sawdust into tight little pellets using heat and pressure. Small home-use models work fine for DIYers.
Chipper or Grinder: If you’re starting with logs or chunks, this breaks them down into sawdust. A decent one saves you tons of time.
Sieve or Screen: You’ll want this to filter out big chunks from your sawdust for smooth, uniform pellets.
Drying Setup: A drying rack or even a sunny spot works to dry your wood. A dehydrator’s handy if you’re in a rush.
Gloves and Safety Glasses: Sawdust gets everywhere, and you don’t want it in your eyes or cuts on your hands.
Dust Mask: Breathing in sawdust is no fun, especially in a small workshop. A mask keeps your lungs happy.
Ready to roll? Here’s how to turn a pile of wood into fuel-ready pellets.
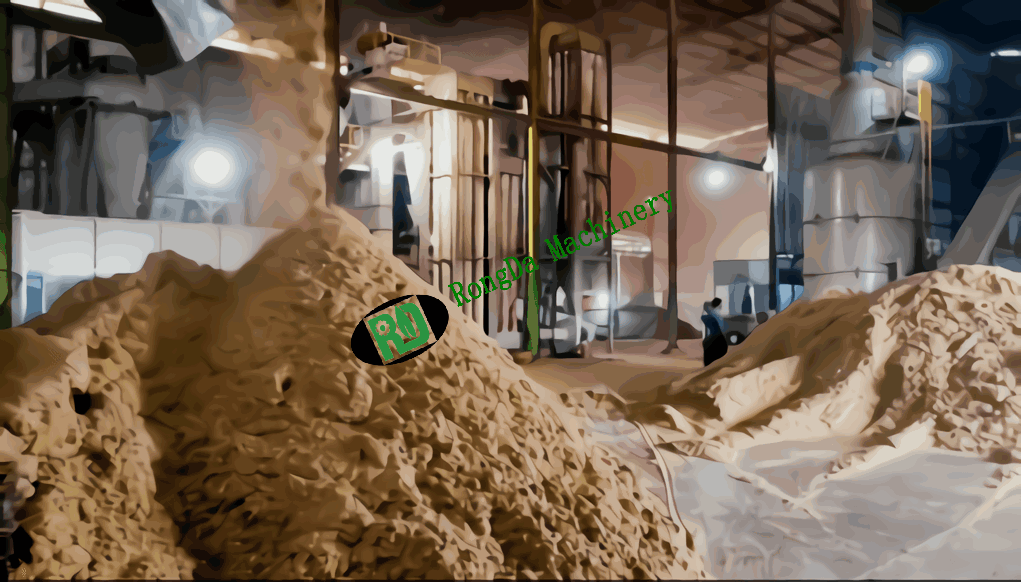
Grab whatever wood you’re using—scraps, logs, or sawdust. If it’s not already sawdust, you’ll need to chip or grind it down. Pro tip: Make sure it’s clean. Nails or bits of metal in your sawdust can wreck your pellet mill.
This part’s all about getting your wood just right.
Dry It Out: Wet wood is your enemy. Aim for a moisture content of about 10-15%—too wet, and your pellets will crumble; too dry, and they won’t stick. Spread the wood on a drying rack in the sun or use a dehydrator if you’re impatient like me.
Chop It Up: Break your wood into tiny pieces, ideally smaller than an inch. Smaller bits make the pellet mill’s job easier.
Sift the Sawdust: Run your sawdust through a sieve to catch any oversized bits or debris. This keeps your pellets consistent and your mill happy.
If you’re using a binding agent like starch, now’s the time to mix it in. Follow the instructions on the package—a little goes a long way. Stir it thoroughly so everything’s evenly blended. I’ve skipped this step sometimes, and honestly, dry sawdust often binds just fine on its own.
Turn on your pellet mill and tweak the settings based on your wood type and desired pellet size. Slowly feed the sawdust into the hopper—don’t dump it all in at once, or you’ll clog the machine (been there, done that). The mill will compress the sawdust into tight pellets, and you’ll start seeing them pop out. It’s oddly satisfying to watch.
Fresh pellets come out hot, so let them cool in a dry, airy spot for about a day. This helps them harden up. Once they’re cool, store them in airtight containers—big plastic bags or sealed buckets work great. Keep them dry, or they’ll soak up moisture and lose their punch.
Things not going smoothly? Here are some common hiccups and how to fix them.
Pellets Too Dry? If they’re crumbling, your sawdust might be too dry. Spritz it with a tiny bit of water before feeding it into the mill, but don’t overdo it.
Pellets Falling Apart? Check your moisture levels (aim for 10-15%) or try adding a pinch of binding agent. Also, make sure your mill’s pressure settings aren’t too low.
Mill Clogging? Slow down on feeding the sawdust, and double-check that your sawdust is fine and debris-free. A quick clean of the mill can work wonders.
Pick the Right Wood: Hardwoods burn longer; softwoods ignite faster. Mix and match to find what works for your stove.
Keep Your Gear Clean: A gunked-up pellet mill is a recipe for frustration. Wipe it down after each use.
Test Your Pellets: Burn a small batch to check their quality. They should burn cleanly without too much ash or smoke.
Keep Them Dry: Store pellets in a cool, dry place to avoid moisture buildup. A garage or shed works great.
Clean Your Mill Regularly: A quick scrub prevents buildup that can mess with your next batch.
Watch for Pests: Rodents love sawdust, so seal your pellets tightly to keep critters out.
Here are some quick answers to common questions:
How long does it take? A small batch can take a few hours, including drying and milling. Bigger batches might need a weekend.
Any wood work? Most clean, untreated woods are fine. Avoid anything with paint or chemicals.
Will I save money? If you’ve got cheap or free wood, absolutely. The pellet mill’s the big upfront cost.
No pellet mill? You can try hand-pressing small batches, but it’s a workout and not as efficient.
Safety concerns? Just stick to the safety gear—gloves, glasses, and a mask—and you’ll be fine.
Making your own wood pellets is a game-changer. It’s practical, eco-friendly, and gives you serious DIY bragging rights. So grab some wood, fire up that mill, and get pelleting!