Welcome to Rongda Machinery Co., Ltd


CALL TO SCHEDULE YOUR FREE!
+8615861110996
sharon@lyrdgj.com
sharon@lyrdgj.com
Toggle Navigation
Making your own wood pellets isn’t just about saving money—it’s a fun, sustainable project that gives you more control over your fuel. Whether you want to use them for heating or as an eco-friendly energy source, making your own pellets can be both rewarding and practical. Here’s a simple guide to help you get started!
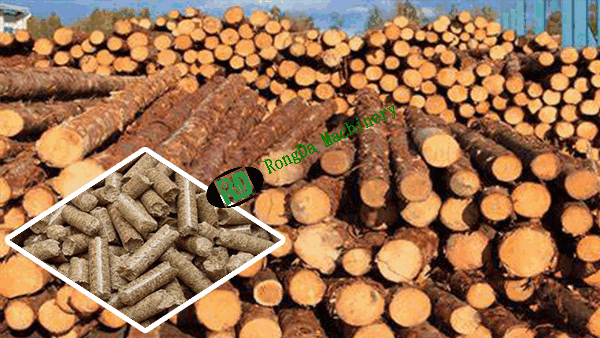
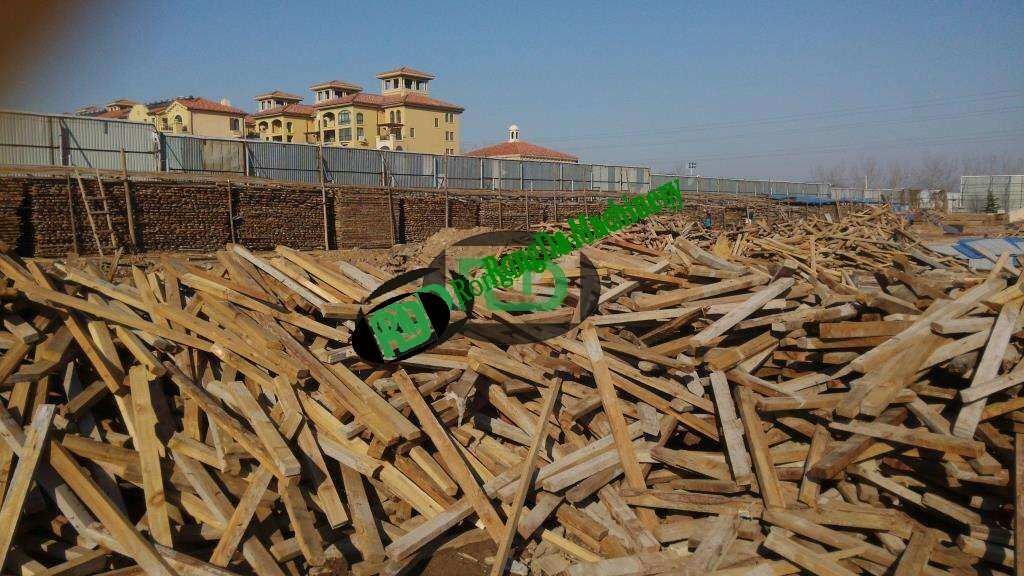
Before you dive into making your pellets, it's important to know what materials you'll need. The best choices are sawdust, wood chips, or wood shavings. The key here is to make sure these materials are dry. Ideally, you want the moisture content to be between 10-15%. If it’s too wet, your pellets won’t hold together well, and if it’s too dry, they won’t burn efficiently. So, keep an eye on the moisture!
You’ll need a few essential machines to get the job done:
Wood chipper (for larger wood pieces).
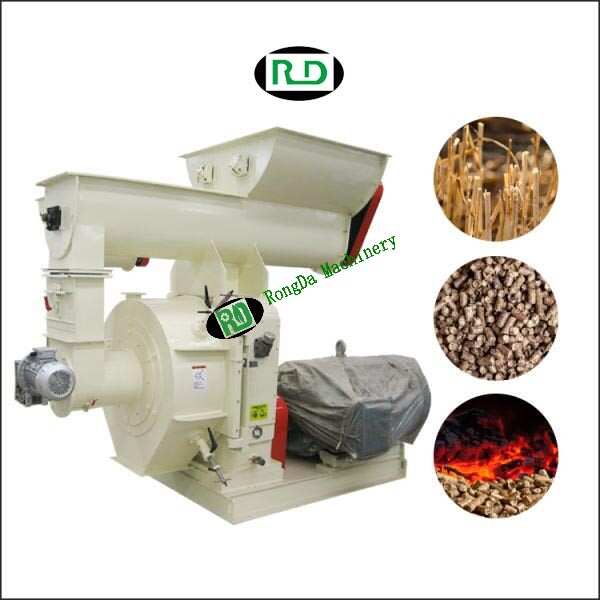
Wood pellet machine to grind everything into fine particles.
Biomass pellet machine to press those particles into pellets.
These machines come in different sizes. If you’re doing this at home, a small setup will work fine, but if you're thinking of something on a bigger scale, you can easily find commercial-grade machines.
Start by using your wood pellet mill to break down the larger wood pieces into smaller, more manageable chips. Once that’s done, move them into a hammer mill to grind them into a fine consistency. The finer the particles, the better your pellets will turn out. This step ensures the material is uniform and ready to be pelletized.
Now, let’s talk about conditioning the material. This step is all about getting the moisture and temperature just right. If the mixture feels too dry, you can add a bit of water to make it easier to bind together. The goal here is to make sure the wood fibers stick together during pelletization. Without proper conditioning, your pellets might fall apart or be weak.
With your material all set, it’s time to pelletize! Feed the conditioned mixture into your biomass pellet machine, where it will be compressed through a die to form those familiar cylindrical pellets. Keep an eye on the pressure and temperature settings on the machine—these directly impact the durability and quality of the pellets. Get it right, and you’ll have nice, solid pellets ready for use.
Once your pellets are formed, they’re going to be hot and a little soft. Let them cool down naturally—this is important because it prevents them from breaking apart when you store them. Once they’ve cooled completely, find a dry, well-ventilated space to store them. This will help maintain their quality and prevent mold.
There are a lot of benefits to making your own wood pellets. First, you get complete control over the materials and quality of your fuel. It’s also a more sustainable way to live, as you’re reducing your dependency on fossil fuels. Plus, it’s an awesome way to repurpose wood waste, turning it into something useful.
In short, making your own wood pellets is a win-win: you get a reliable, eco-friendly fuel source, and you’re doing your part to live more sustainably. So, if you’ve got the right tools and a little patience, you can turn wood into a valuable resource for all your energy needs.