Welcome to Rongda Machinery Co., Ltd


CALL TO SCHEDULE YOUR FREE!
+8615861110996
sharon@lyrdgj.com
sharon@lyrdgj.com
Toggle Navigation
In today’s world, finding sustainable energy solutions has become more urgent than ever. If you're looking for a way to both reduce waste and create an eco-friendly, cost-effective energy source, making your own wood pellets could be the perfect solution. Not only does this process help minimize landfill waste, but it also provides you with a renewable energy source that can power your home efficiently. This guide will take you through the simple steps of turning scrap wood into a valuable energy resource—right at home.
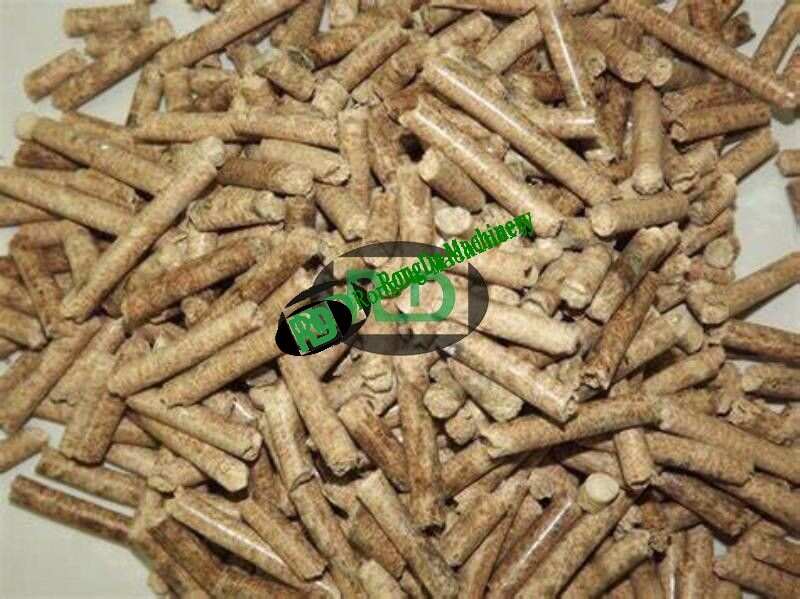
Wood pellets are gaining popularity as an alternative to traditional heating and power sources. They are made by compressing sawdust and other wood-based materials into dense, uniform pellets that burn efficiently. Here's why they’re so effective:
Cost Savings: Producing your own wood pellets can drastically reduce heating costs by utilizing materials you may already have at hand.
Sustainability: By converting waste wood into energy, you’re not only helping the environment by preventing excess waste from reaching landfills, but you're also promoting more sustainable practices in your daily life.
Cleaner Burn: Wood pellets burn more efficiently and cleaner than traditional logs, with less ash and fewer emissions, making them a healthier choice for both the environment and your home.
Before you get started, gather the following materials and equipment to ensure a smooth pellet-making process:
Wood Source: The ideal raw material includes sawdust, wood shavings, or any dry wood scraps you have. Avoid using treated wood, as it may contain harmful chemicals.
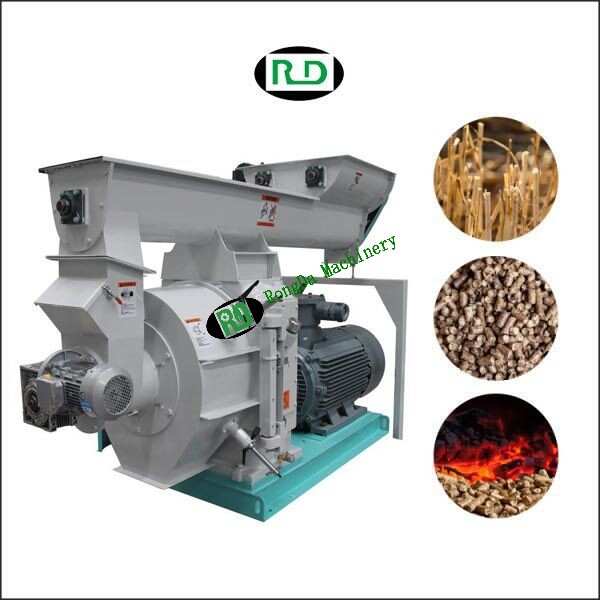
Pellet Mill: This machine compresses your wood into pellets. While there are small, affordable models available for DIY use, larger mills are better suited for higher production.
Moisture Meter: Ensuring your wood has the correct moisture content (around 10-15%) is essential for making high-quality pellets.
Storage Containers: Once your pellets are made, you’ll need airtight containers to keep them dry and prevent mold.
Follow these steps to turn your waste wood into valuable, renewable energy:
Start by selecting and prepping your wood source. If you're using fresh wood or wood scraps, make sure it’s dry. Moisture content is key—too much moisture can affect the quality of your pellets. If necessary, let your wood dry in a well-ventilated area until it reaches the ideal moisture level.
Next, you’ll need to break down the wood into fine sawdust. Use a wood grinder or any other suitable tool to turn the wood into a consistency that resembles flour. The finer the sawdust, the easier it will be to form pellets. If you don’t have a grinder, consider purchasing a wood pellet machine from manufacturers like Rongda Machinery.
Use a moisture meter to check the moisture level of your sawdust. If it’s too high, spread it out and let it air dry before proceeding. Proper moisture content ensures the pellets will form effectively and burn efficiently.
Once your sawdust is ready, load it into the pellet mill. This machine will apply high pressure and heat to bind the sawdust particles together, forming solid pellets. Be sure to follow the manufacturer’s instructions for operating your pellet mill.
Monitor the Process: While the pellets are being made, pay attention to the temperature and pressure settings. If the pellets come out too soft or break easily, you may need to adjust the moisture content or settings on the machine.
Once the pellets are formed, let them cool down before storing. Cooling is important to avoid moisture buildup and mold growth. After cooling, store your pellets in airtight containers to keep them dry and ready for use.
Experiment with Blends: Mixing different types of wood, such as hardwood and softwood, can yield unique burning characteristics and even pleasant scents.
Stay Organized: Keep a log of your pellet production process. This helps you track and improve your methods over time.
Safety First: Always wear the proper protective gear (gloves, goggles, ear protection) when handling machinery or wood to avoid injury.
Not only is making your own wood pellets an environmentally friendly activity, but it’s also a rewarding way to take control of your energy needs. Whether you’re using the pellets to heat your home, cook, or power small appliances, you’ll enjoy the satisfaction of knowing you’re doing your part to reduce waste while creating a renewable energy source for your home.
By following these simple steps, you can transform everyday wood waste into a valuable resource that powers your home and reduces your carbon footprint. The benefits are clear—saving money, minimizing waste, and contributing to a greener planet—all from the comfort of your own backyard.
So, roll up your sleeves, gather your materials, and start creating your own wood pellets today. With a little bit of time and effort, you’ll harness the power of homemade energy, taking a significant step towards sustainability in your own life.